2016 GSX-R750 BUILD - Fork Refresh, Brakes and plastics
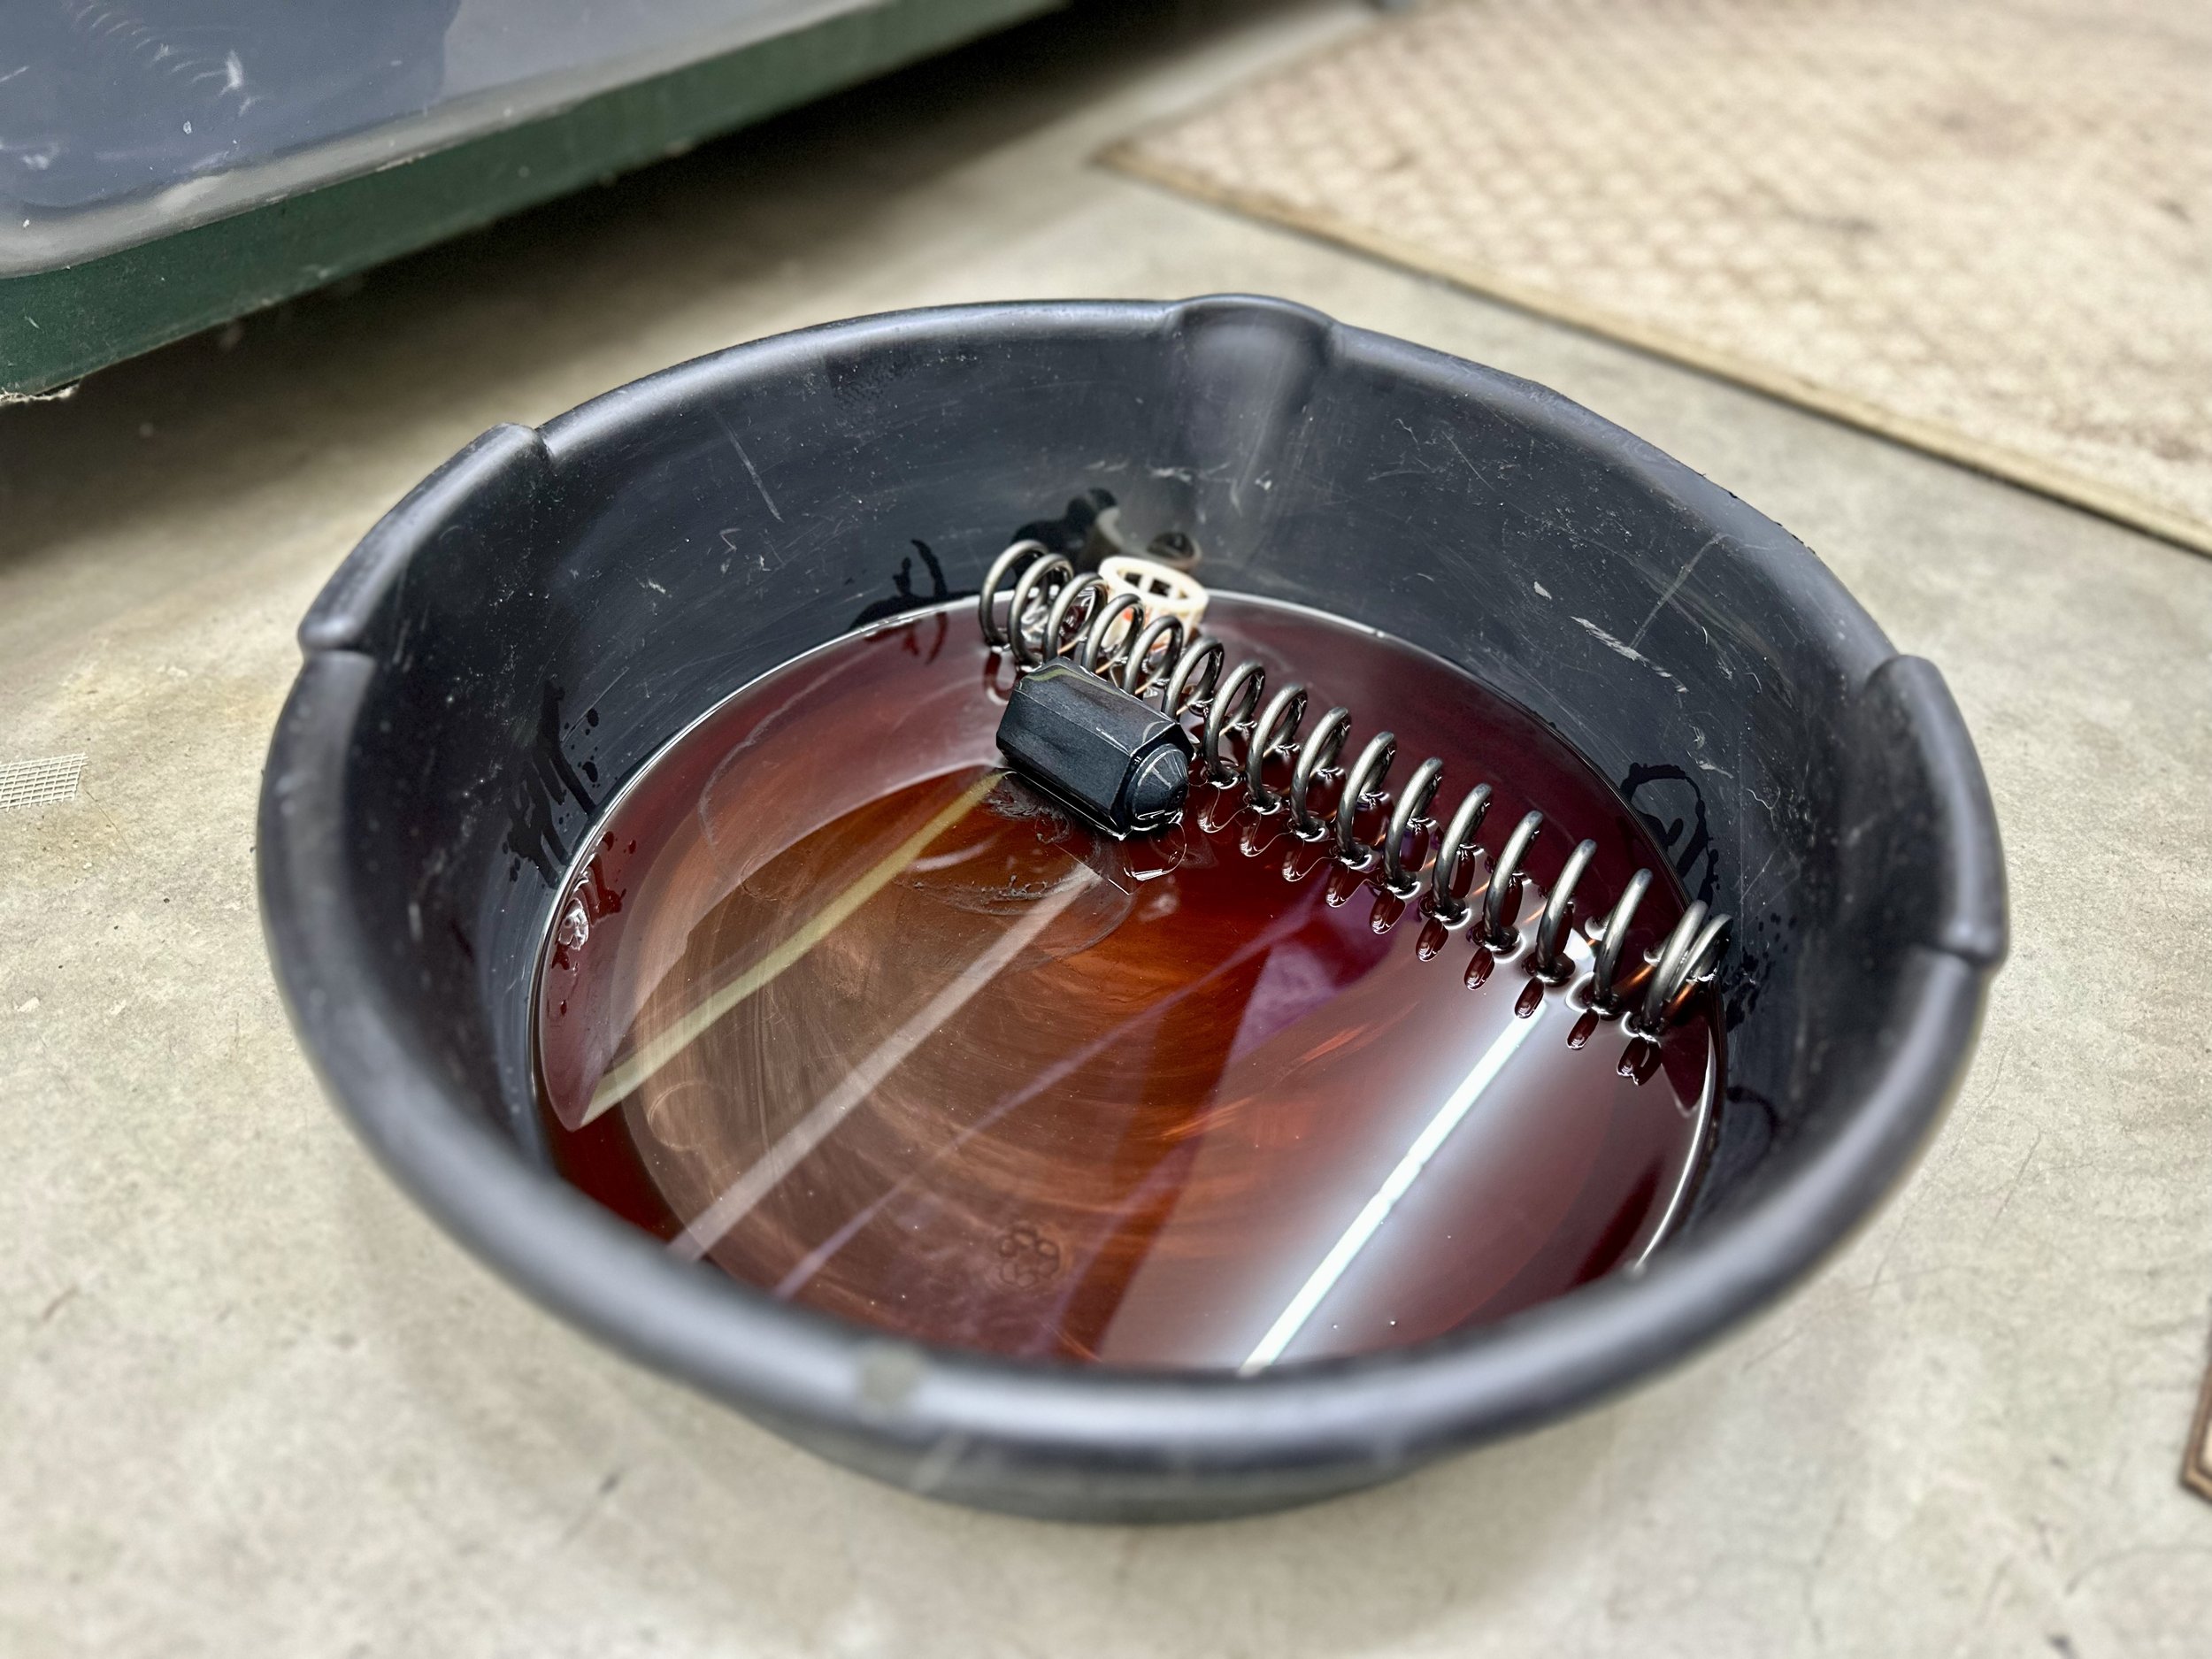
Fluid from the first fork. Note the gray material is the fine participants from wear/tear. Pretty cool!
The inner workings of motorcycle forks have mystified me for over 25 years as a rider. But during our recent build day, we finally popped them open, swapped out the fork fluid, added some shiny new parts, and got everything reassembled lickety-split.
We also made great strides in installing stainless steel brake lines, the brake master, a Motion Pro Throttle, and some crash guards, all in the spirit of fun! Let’s jump in!
Refreshing the forks
I’ve intentionally opted for not upgrading the suspension yet. I want to feel how a stock GSXR 750 handles, get to know the bike a little before throwing even more money at the thing. I typically subscribe to my talent will never be able to meet the technology of a bike.
First we removed the older forks from the bike and began dumping out the fluid.


With the forks cleaned up with fresh fluid we set them aside to begin working on cleaning the brake calipers and installing a new Motion Pro Rev 3 Throttle and Brembo Brake Master Cylinder 19x18 MKIIGP.


Upgrading the front brake lines
Another must have is stainless steel brake lines. For this build we’ve gone with Core Moto H-shape front brake lines.
I’m keeping my rear line stock, since this is largely only used when going on an off-track excursion.
We are going to mostly delete the reservoir though to make me that much faster. ;)
Installing Crash Guards - reducing risk of engine damage
On each track bike I’ve owned I’ve installed crash guard. I’ve yet to need them, but they are a relatively low cost addition to needing a new engine from an ego-smashing low-side.
I’ve gone with the GB Racing covers. They were super easy to install, plus give the bike a 8% tougher look.

Affixing the racing plastics
I’ve been waiting to start this process. While we only got the tail fitted and the seat, it’s really that final visual to get excited about this actually looking like a legit track bike.
If you recall we had the plastics painted a pearl white, with the intention to our own livery (vinyl/stickers).
What do you think? Looking pretty good I think.


In conclusion it was a solid motorcycle build day
We ran into a few minor challenges, but the key is to stay calm, and recognize they’ll will happen. Next up we’ll continue on the race plastics, and cleaning up the rear brake reservoir install. It’s getting close to reveal what this thing will look like before the custom livery is applied.
Thanks for reading!